
Homemade Butter and Yogurt
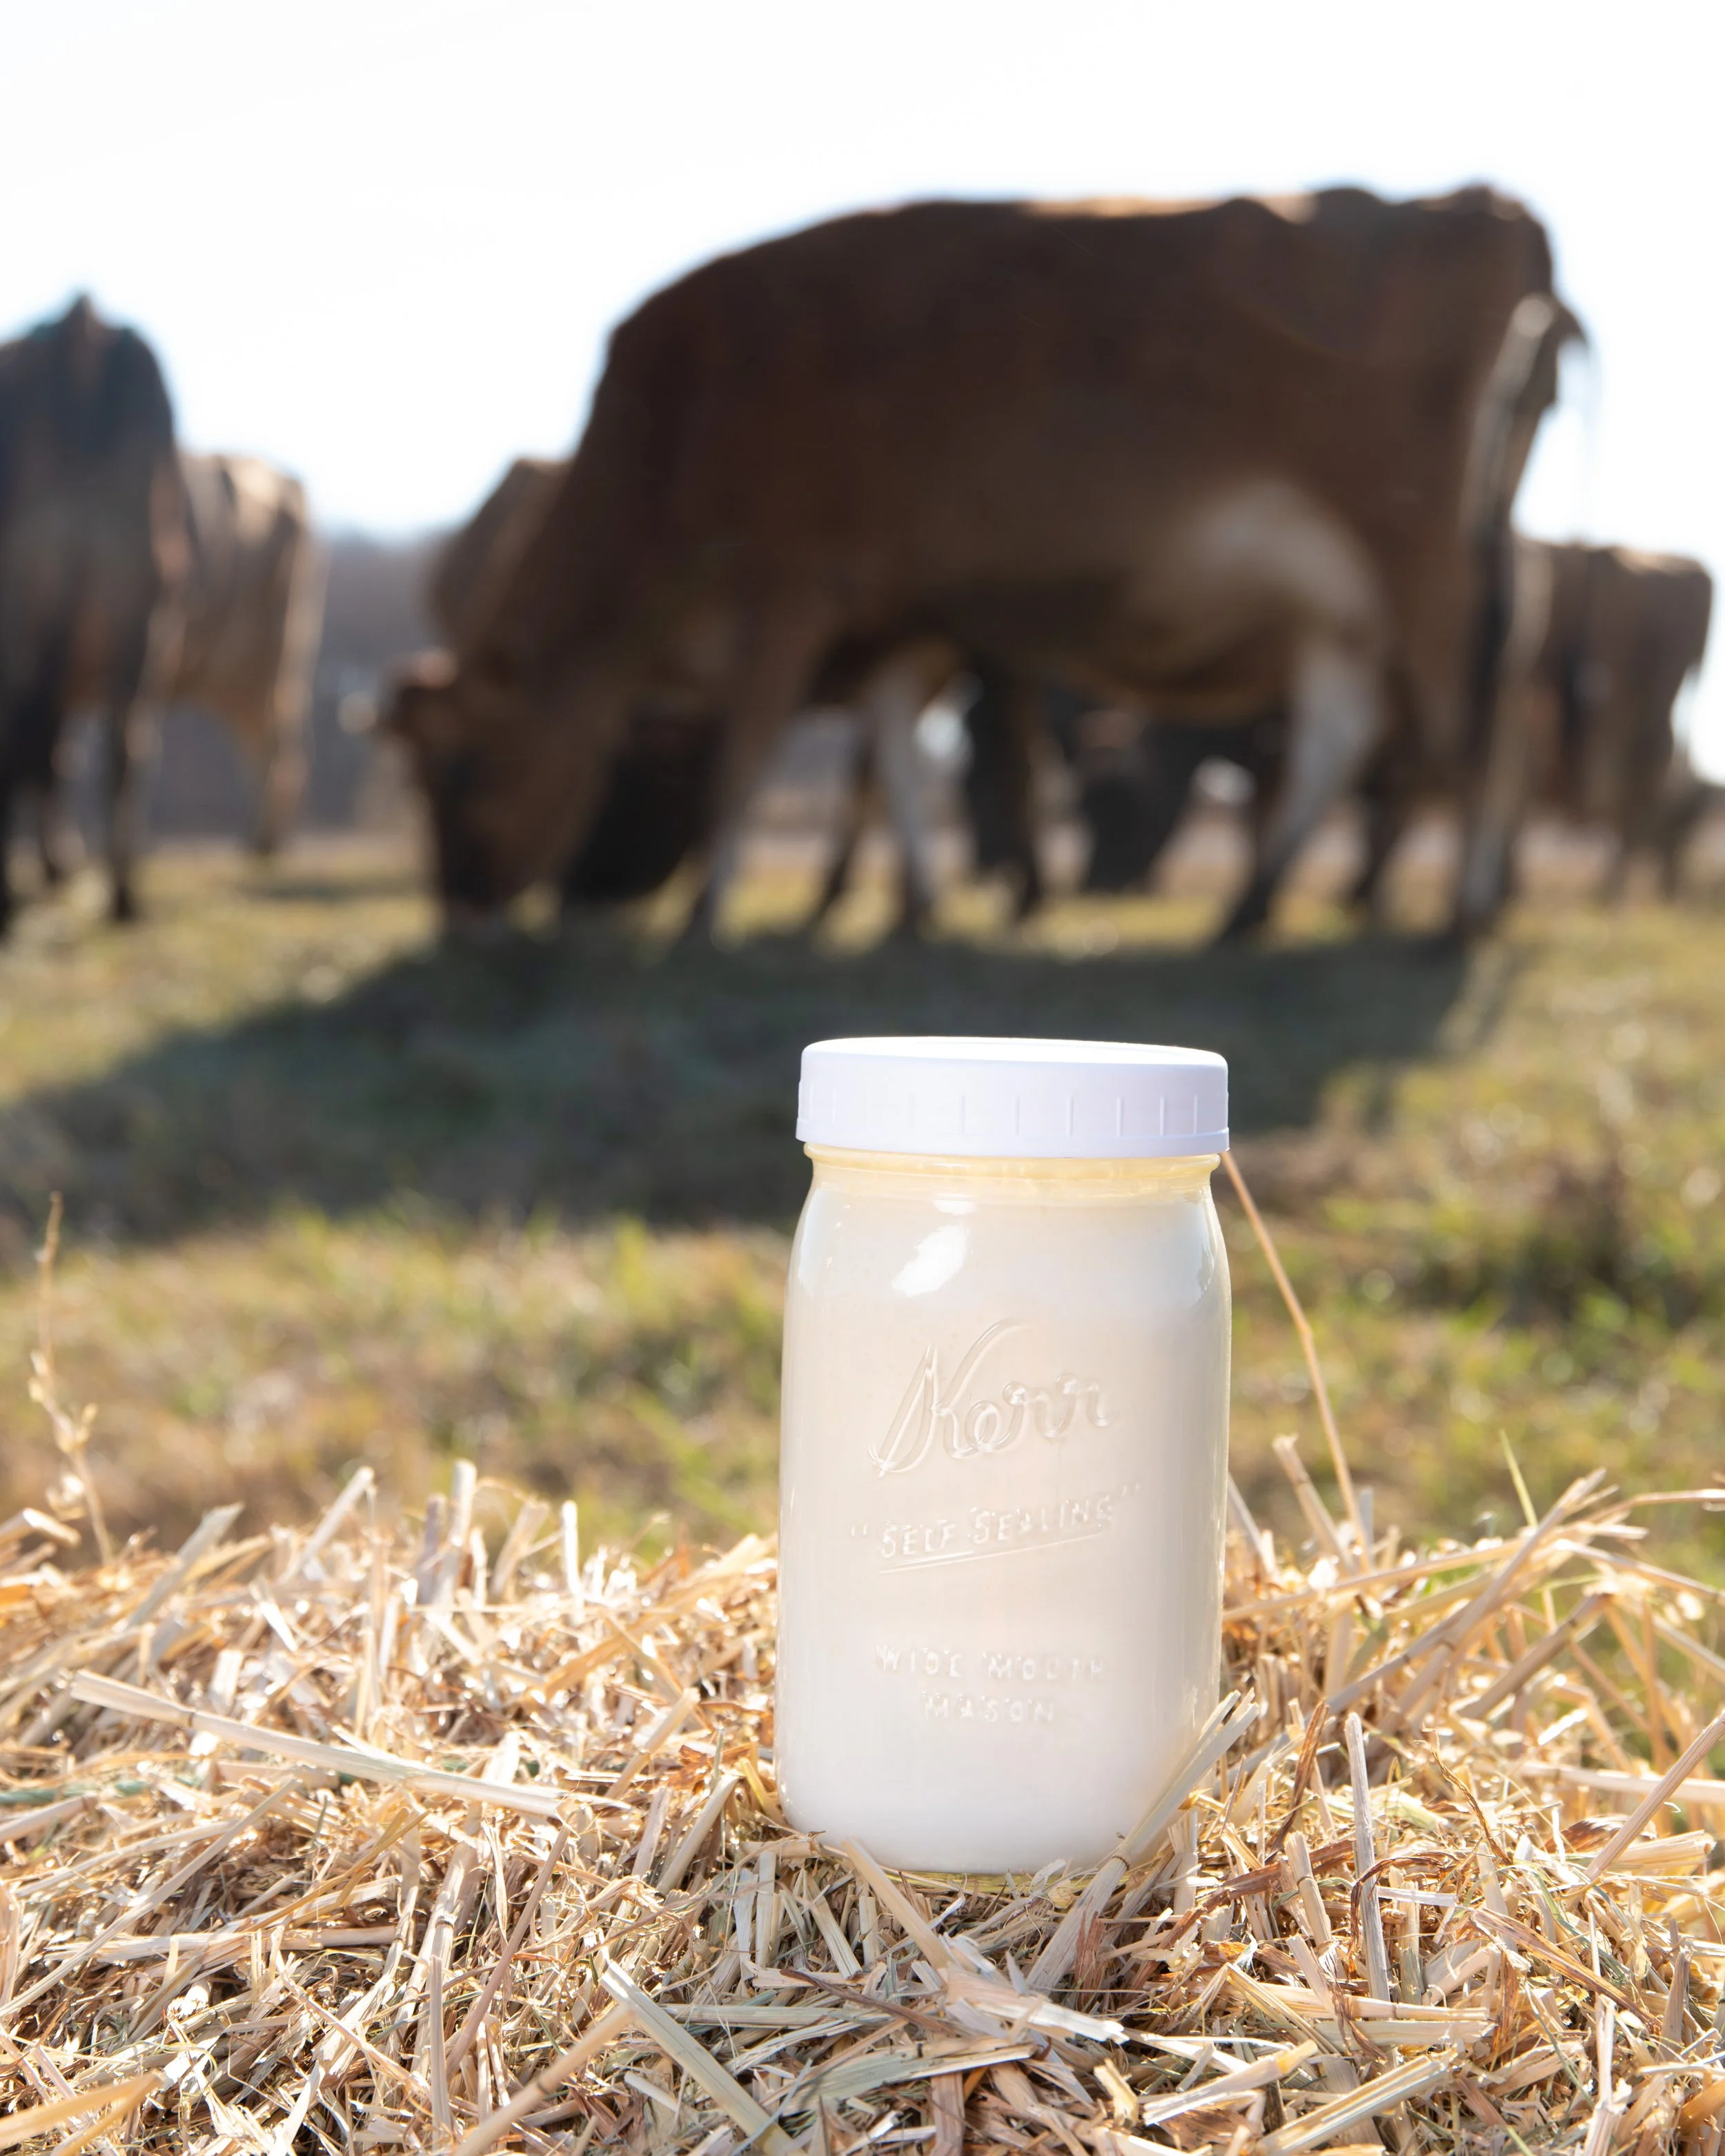
As many of you know, the MDA has recently told us that we can no longer offer yogurt and butter as part of our herdshare. The good news is that both are much easier to make at home than you might think. I’ve put together the methods, equipment and resources I recommend for turning your milk and cream shares into your own homemade yogurt and butter.
YOGURT
Using an Instant Pot
If you have an Instant Pot with a yogurt setting, this is a good tutorial for making yogurt with your raw milk:
The Everyday Farmhouse — Raw Milk Yogurt in the Instant Pot
If You Don't Have an Instant Pot
You can absolutely make yogurt on the stovetop. This is how I have made ours for years.
The most difficult part isn't actually making the yogurt — it's finding a way to consistently hold it at the right temperature while it incubates for about five hours.
I've been using a dehydrator for this for at least 11 years. Before that, I tried keeping it in the oven with the light on, making my own incubator with a cooler, towels and jars of hot water...all kinds of things. Nothing was terribly consistent, and pretty frequently, I would ruin a batch.
LEM dehydrators work great for incubating yogurt, and that's what I use.
The size you need depends on how much yogurt you want to make at one time and how tall the jars are that you're using.
The 6-tray LEM dehydrator will work with pint jars and may be tall enough for quart jars as well. Just remove all of the trays except the bottom one and set your jars on that bottom tray.
I have the LEM BigBite 16-Tray Dehydrator because I'm making a lot of yogurt at once. With the trays removed, mine will fit 18 quart jars at a time.
I also see that Amazon has many options specifically for incubating yogurt — just search “yogurt maker.” However, I can't personally confirm how well any of them work or how long they last.
A LEM dehydrator will last you for years and years and can do double duty for plenty of things besides incubating yogurt, which is why that's what I use.
For small batches, though, I'd really go with the Instant Pot method. It's super consistent and simple, and it's the only other method I know of that people have used repeatedly with good success.
How I Make Our Yogurt
I make yogurt in large batches, because obviously we're making quite a bit at a time! My usual batch is:
3 1/2 gallons milk
1 gallon cream
1 pint yogurt for starter
I combine the milk and cream and heat it to 180°F. Then I transfer the pot to a sink of cold water and cool it to 110°F.
I put a pint jar of yogurt into a gallon pitcher, add about a half gallon of the warm milk mixture, and blend it with an immersion blender. Then I pour that mixture back into the big pot and briefly blend the whole thing again with the immersion blender.
I pour the yogurt into quart jars and put them in my LEM dehydrator at 95 degrees F for 5 hours.
The ideal temp is 105-110, but your dehydrator will cycle the temp up and down, and the jars closest to the heating element will get the warmest when it kicks on. I’ve found that setting the dehydrator at 100 also works, but I err on the side of cooler rather than too hot.
When they're done, I take them out, let them cool to room temperature, and then refrigerate them.
Want to Make a Small Batch?
Obviously, that's a bulk recipe!
If you want to start with just 1/2 gallon of milk, the same ratios would be approximately:
1/2 gallon milk
18 oz cream
2.3 oz starter yogurt
Matt went on a mission trip to Greece about 13 years ago, and he found out that one of the reasons Greek yogurt is so delectable and thick is because they add cream to the milk, bringing the milkfat up to around 12%. So I started doing the same thing, and that's how I've made ours ever since.
A Note About Yogurt Starter
I use the Cultures for Health Greek Yogurt Starter Culture. It's an heirloom culture that makes a nice, thick mild yogurt, and once you get it established, you can keep it going by saving some yogurt from each batch to use as the starter for your next batch.
Cultures for Health Greek Yogurt Starter Culture
My current starter has been going for six years! The one before that lasted five years...until one day we accidentally ate all the yogurt.
Pro tip: As soon as your yogurt is finished, put about a half-pint into a separate jar or small container and label it STARTER. That way nobody accidentally eats your entire starter before you make the next batch. Ask me how I know.
And if you still have some of our yogurt in your refrigerator, you don't even need to buy a starter culture. Set some aside now and use that to start making your own.
Since our yogurt was made with this same heirloom culture, you can continue keeping it going from batch to batch. Just make a new batch every week or two to keep your starter really active and strong.
BUTTER
Using a KitchenAid or Stand Mixer
Making butter is incredibly simple if you have a stand mixer. KitchenAid has a straightforward tutorial here:
KitchenAid — How to Make Butter in a Stand Mixer
Set your cream out on the counter for about half an hour before you make the butter. The ideal butter-making temperature is around 50°F, and it will go much faster if the cream isn't straight out of the refrigerator.
One important thing: don't skip washing the finished butter with cold water.
You want to remove as much of the remaining buttermilk as possible. Getting that buttermilk out will help your finished butter keep longer.
Once it's washed, flatten the butter out a bit and sprinkle salt over it. Rinse your hands in cold water so they're nice and cold, then knead (fold the butter over and over itself) a little to work the salt through it. Taste it and see if it needs more salt. Add a little more if it needs it, knead again, and keep going until it's as salty as you like it.
Typically, one pint of cream will make about 6–8 ounces of butter.
If you need additional milk or cream shares for making your own yogurt or butter, just let me know.
And please feel free to ask me questions if you run into trouble! I've made a lot of yogurt and butter over the years, and I'm always happy to help you troubleshoot.